The Homeowner's Guide to Handling a Burst Pipe Before the Plumber Arrives
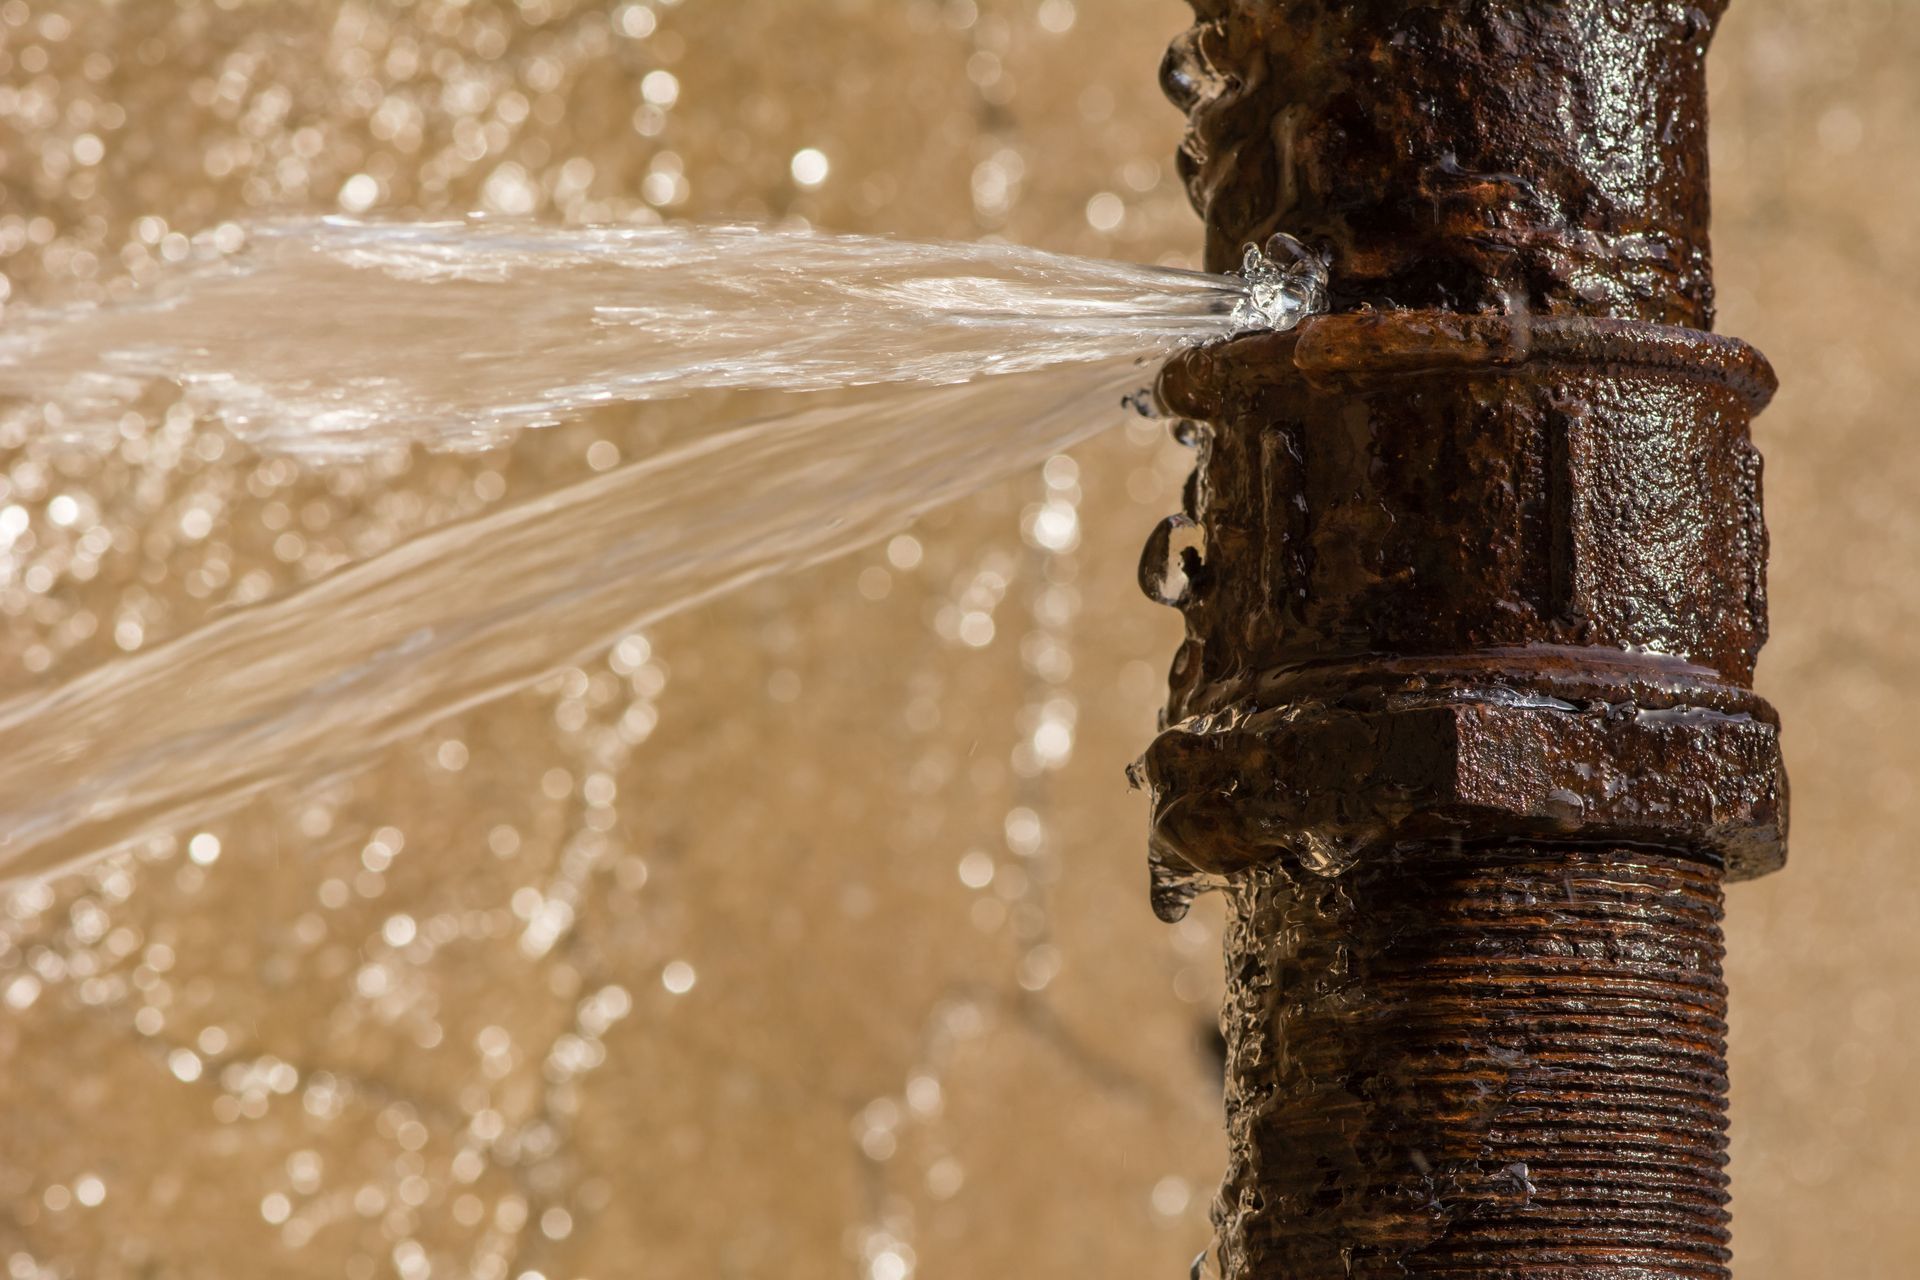
A burst pipe is one of the most stressful plumbing emergencies a property owner can face, instantly transforming a peaceful household into a chaotic race against water damage. When hundreds of gallons of pressurized water are actively flooding your living spaces, knowing exactly what to do in the opening minutes can save you thousands of dollars in structural repairs. Taking immediate, systematic control of the situation minimizes the long-term destruction to your flooring, drywall, and personal belongings before professional help pulls into your driveway.
Shutting Off the Main Water Supply Immediately
The absolute first step in managing a pressurized water crisis is to halt the flow at its source. Locating and turning off your home's main water valve is the single most effective action you can take to mitigate ongoing structural destruction. This valve is typically located near the water meter, in the basement, in a utility closet, or outside near the street curb. Turning this handle clockwise completely cuts off the water supply to the entire building, immediately stopping the active flooding at the rupture point. If your main valve is old or difficult to turn, utilizing a wrench or specialized water meter key can give you the necessary leverage to shut it completely. Familiarizing your entire household with the exact location of this valve before an emergency strikes ensures that anyone can act instantly during a crisis.
Draining the Remaining Water From Your Lines
Even after the main valve is completely closed, a massive amount of residual water remains trapped inside your household pipes. To prevent this leftover volume from continuing to leak out of the rupture point, you must intentionally empty the plumbing network. Go to the lowest level of your home, such as a basement or ground-floor bathroom, and open the faucets completely to let the trapped water drain out safely. Simultaneously, open the faucets on the highest floor of the house to let air into the system, which accelerates the drainage process like releasing a vacuum. Don't forget to flush every toilet in the house multiple times to empty the water stored in their upper porcelain tanks. Taking these quick steps safely routes the remaining gallons down your intentional drains rather than letting them spill onto your ceilings and floors.
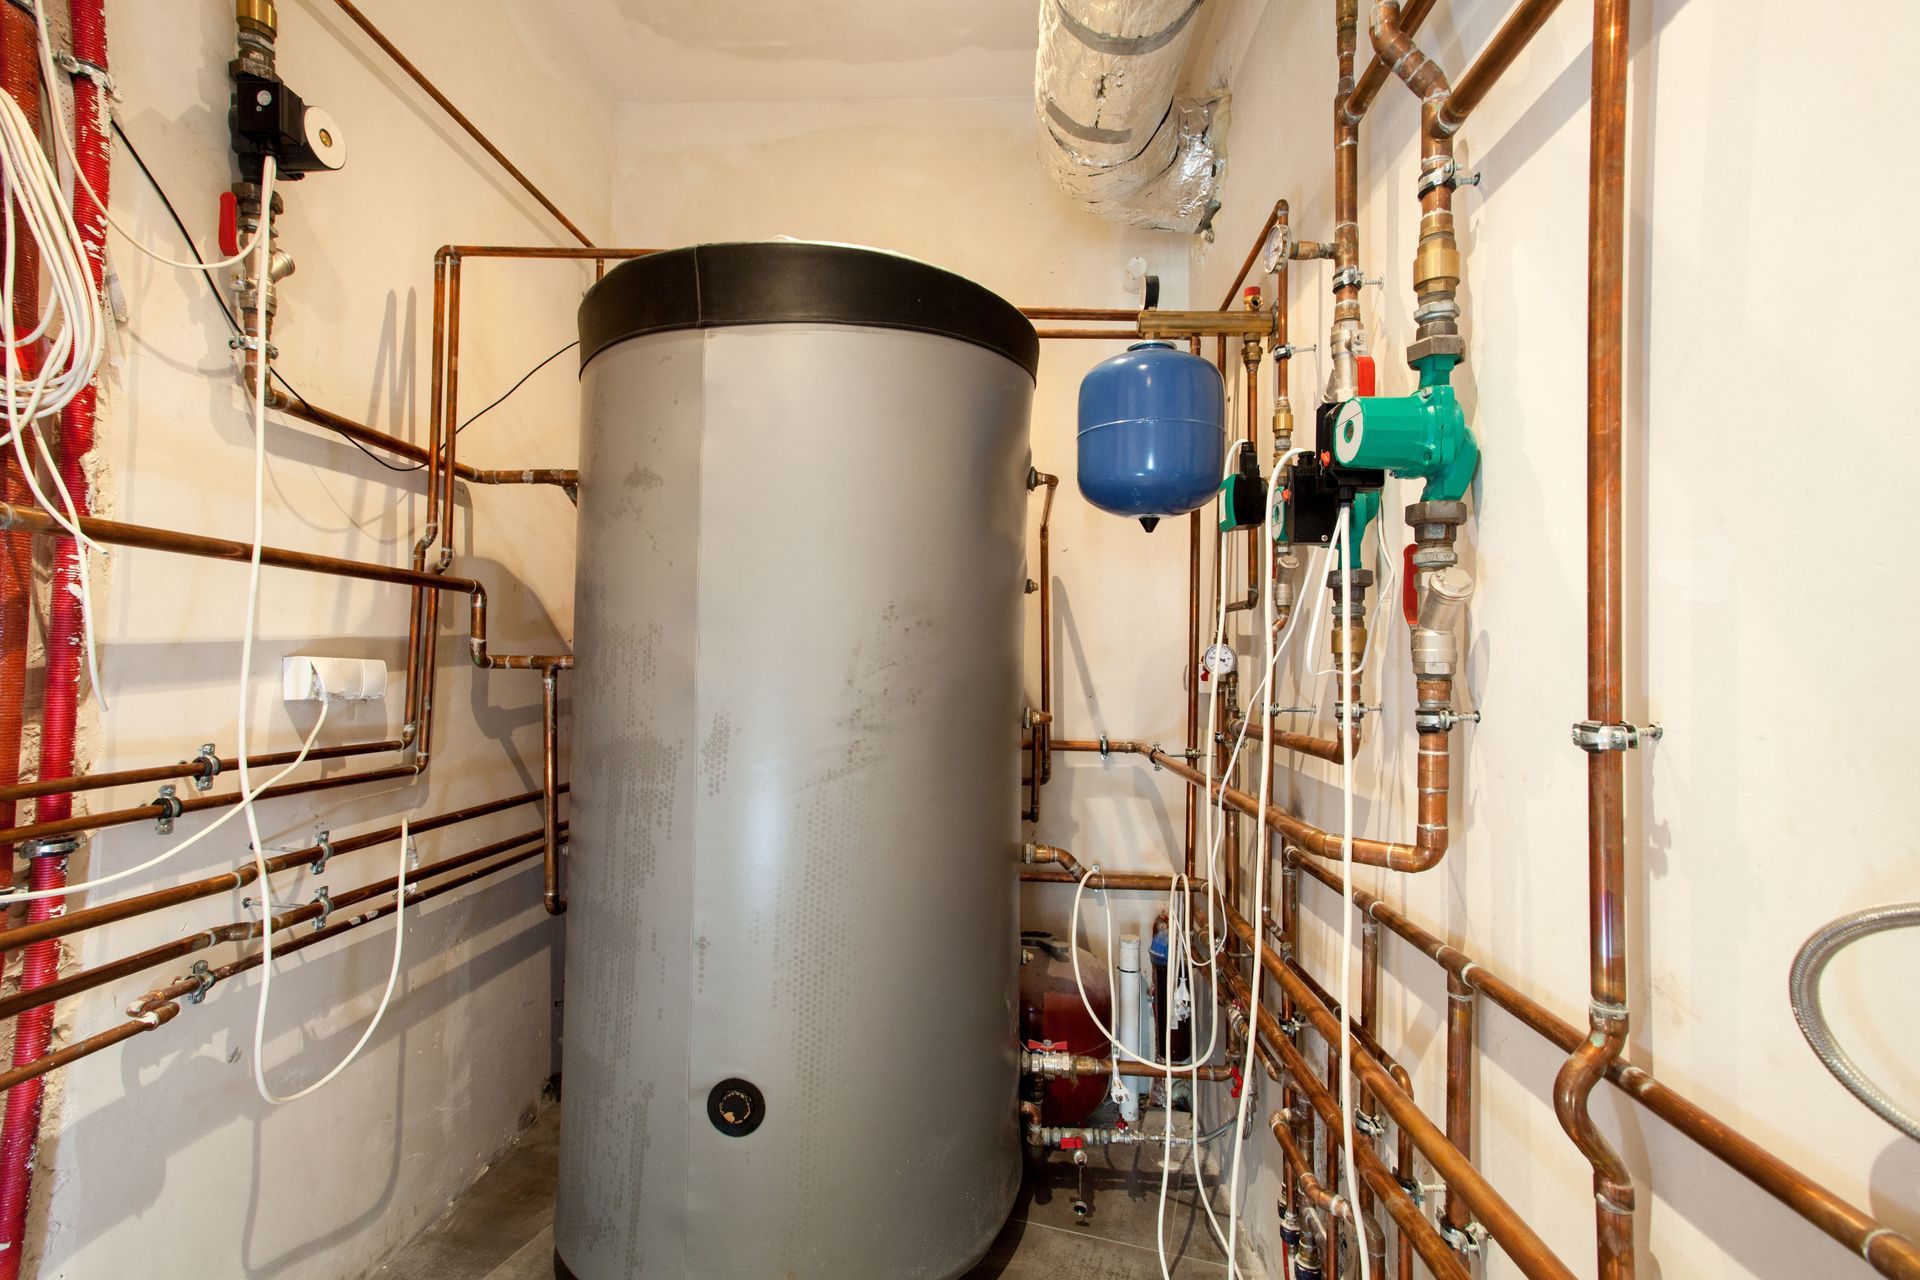
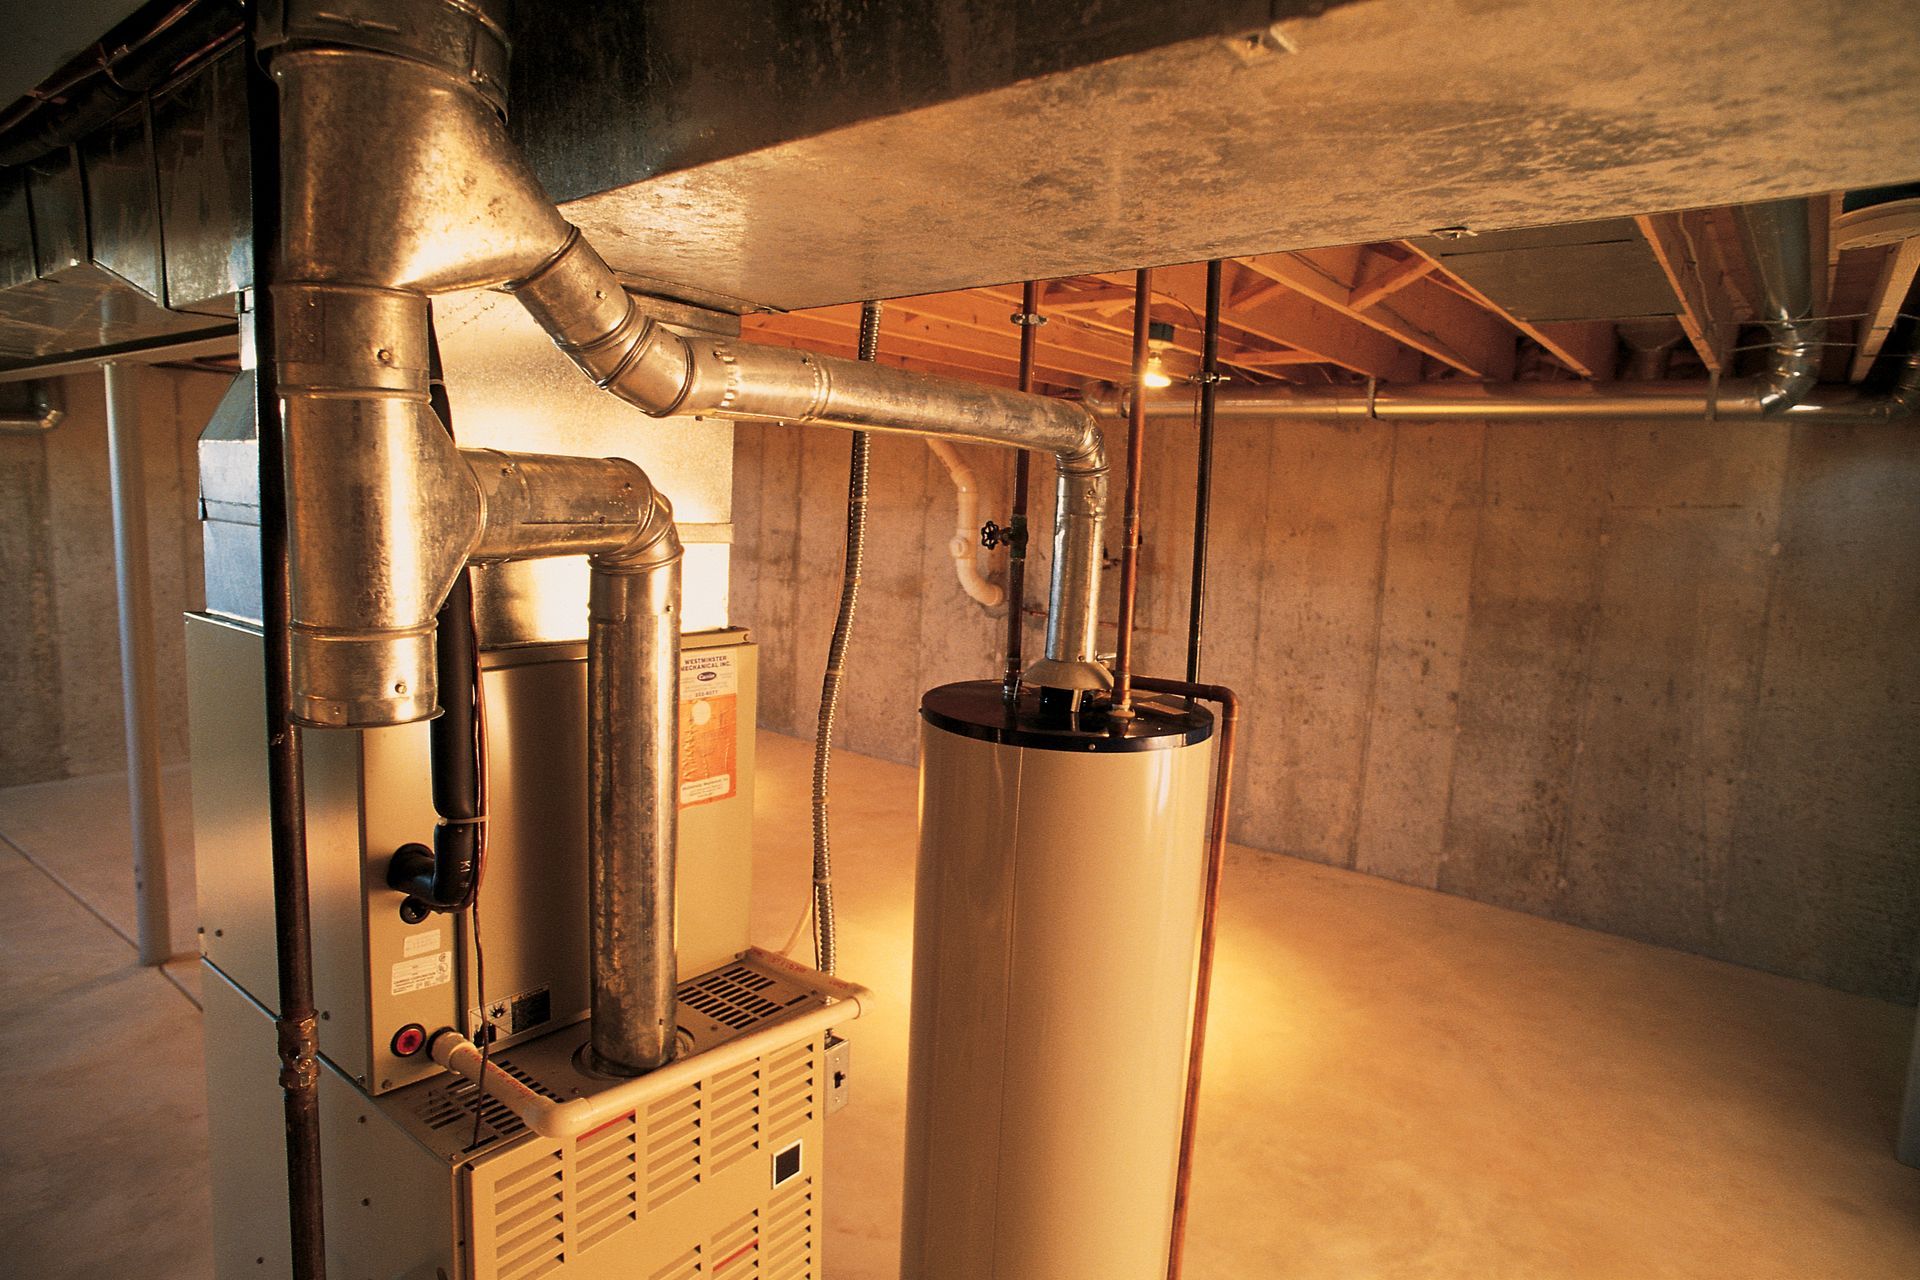
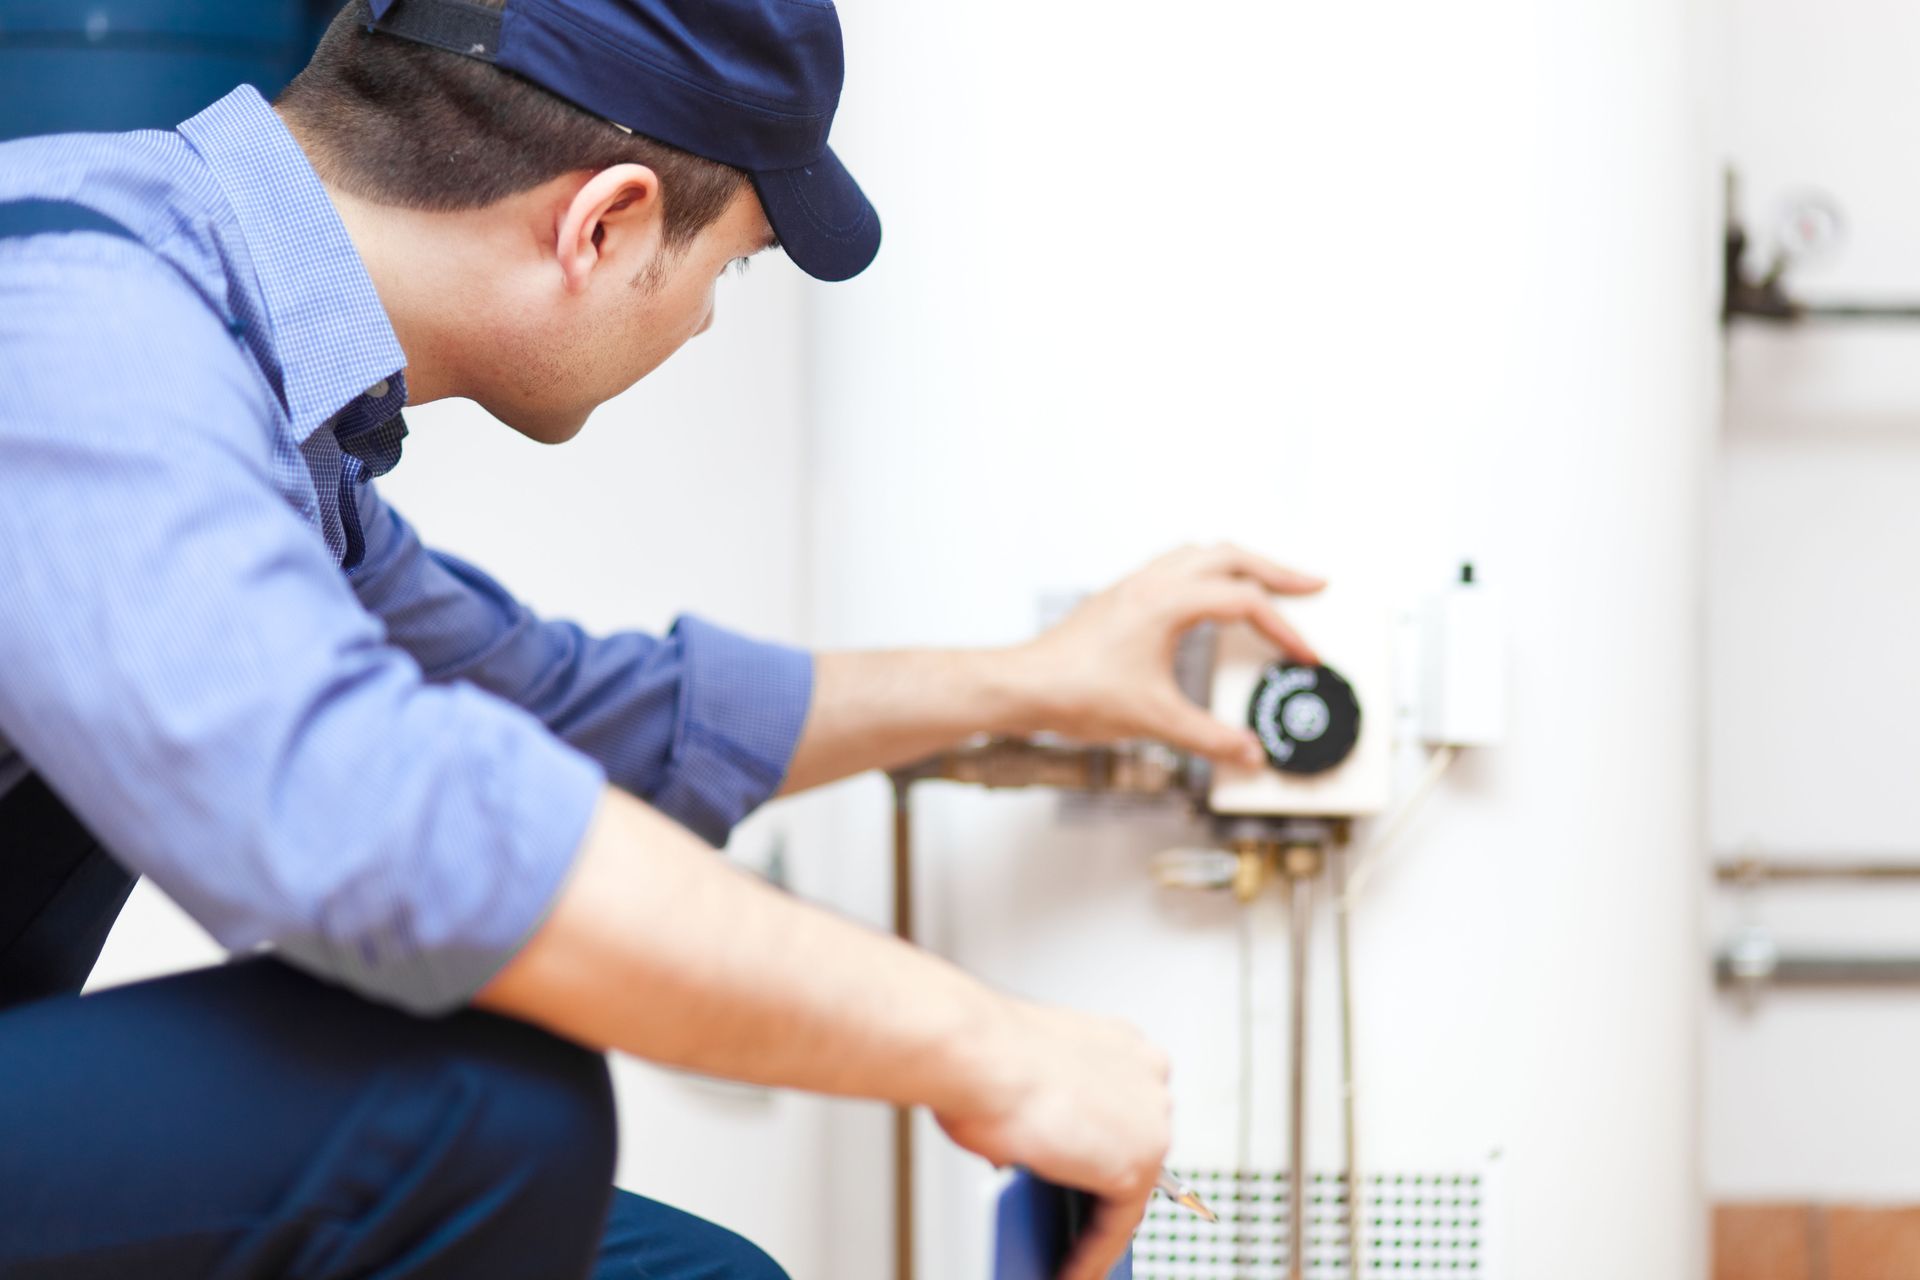
Switching Off Your Water Heating Equipment
Leaving your water heater powered on when your pipes are drained poses an immediate threat to your home's safety and your utility infrastructure. Tank-based systems rely on a constant volume of internal water to absorb the intense heat generated by their electrical elements or gas burners. If the tank empties while the heat source remains fully active, the internal elements will quickly burn out, or the tank itself can suffer severe thermal distortion and rupture. For electrical water heaters, locate your main circuit breaker panel and flip the dedicated switch to the "off" position immediately. For gas-powered units, turn the physical thermostat knob on the front of the heater to the "pilot" or "off" settings to stop the burners from firing. Protecting this expensive equipment prevents a simple plumbing rupture from spiraling into a total appliance replacement project.
Documenting the Damaged Areas for Insurance Purposes
Before you begin aggressively cleaning up the mess, it is vital to capture clear, unedited visual evidence of the incident for your homeowner's insurance provider. Use your smartphone to take high-resolution photographs and wide-angle videos of the ruptured pipe, the standing water, and any saturated personal property. Document the specific water marks on your drywall, warped baseboards, ruined electronics, and soaked furniture before anything is moved or dried out. Insurance adjusters require this detailed proof to accurately calculate your payout and validate the true extent of your structural losses. Write down a detailed list of every damaged item, noting its approximate purchase date and estimated replacement value while the details are fresh in your mind. Keeping a thorough, organized record from the very beginning of the disaster streamlines the claims process and protects your financial interests.
Beginning the Water Extraction and Mitigation Process
Once the active flooding has ceased and you have documented the scene, you must immediately shift your energy toward structural drying. Standing water penetrates deeply into porous materials like carpets, wooden subfloors, and drywall within minutes, creating an ideal breeding ground for hazardous mold spores. Utilize a heavy-duty wet-dry shop vacuum to extract as much standing liquid as possible from your floors and carpets. Open your windows if the weather permits, and set up high-velocity floor fans and industrial dehumidifiers to keep air moving aggressively through the saturated rooms. Strip away wet area rugs, soaked cardboard boxes, and damp furniture cushions to allow the underlying flooring beneath them to breathe and dry out completely. Acting swiftly during this critical window drastically reduces the likelihood of long-term mold colonization and saves your subfloors from rotting.
Preparing for Extended Professional Service Wait Times
After you have stabilized your home and contained the immediate crisis, your next step is to contact a local plumbing business to execute a permanent structural repair. However, homeowners must realize that professional assistance may not arrive instantly, as the service industry is currently facing a massive labor shortage that impacts response times globally. According to Service Titan, the plumber shortage is expected to reach 550,000 by 2027. Because of this shrinking workforce, emergency technicians are often stretched thin, meaning you might have to manage your home with the water turned off for several hours or even days. Understanding this industry reality highlights why mastering basic containment strategies is so crucial for modern property owners. While you wait for a technician to navigate their packed schedule, keeping your main water valve shut ensures your home remains perfectly safe from further flooding.
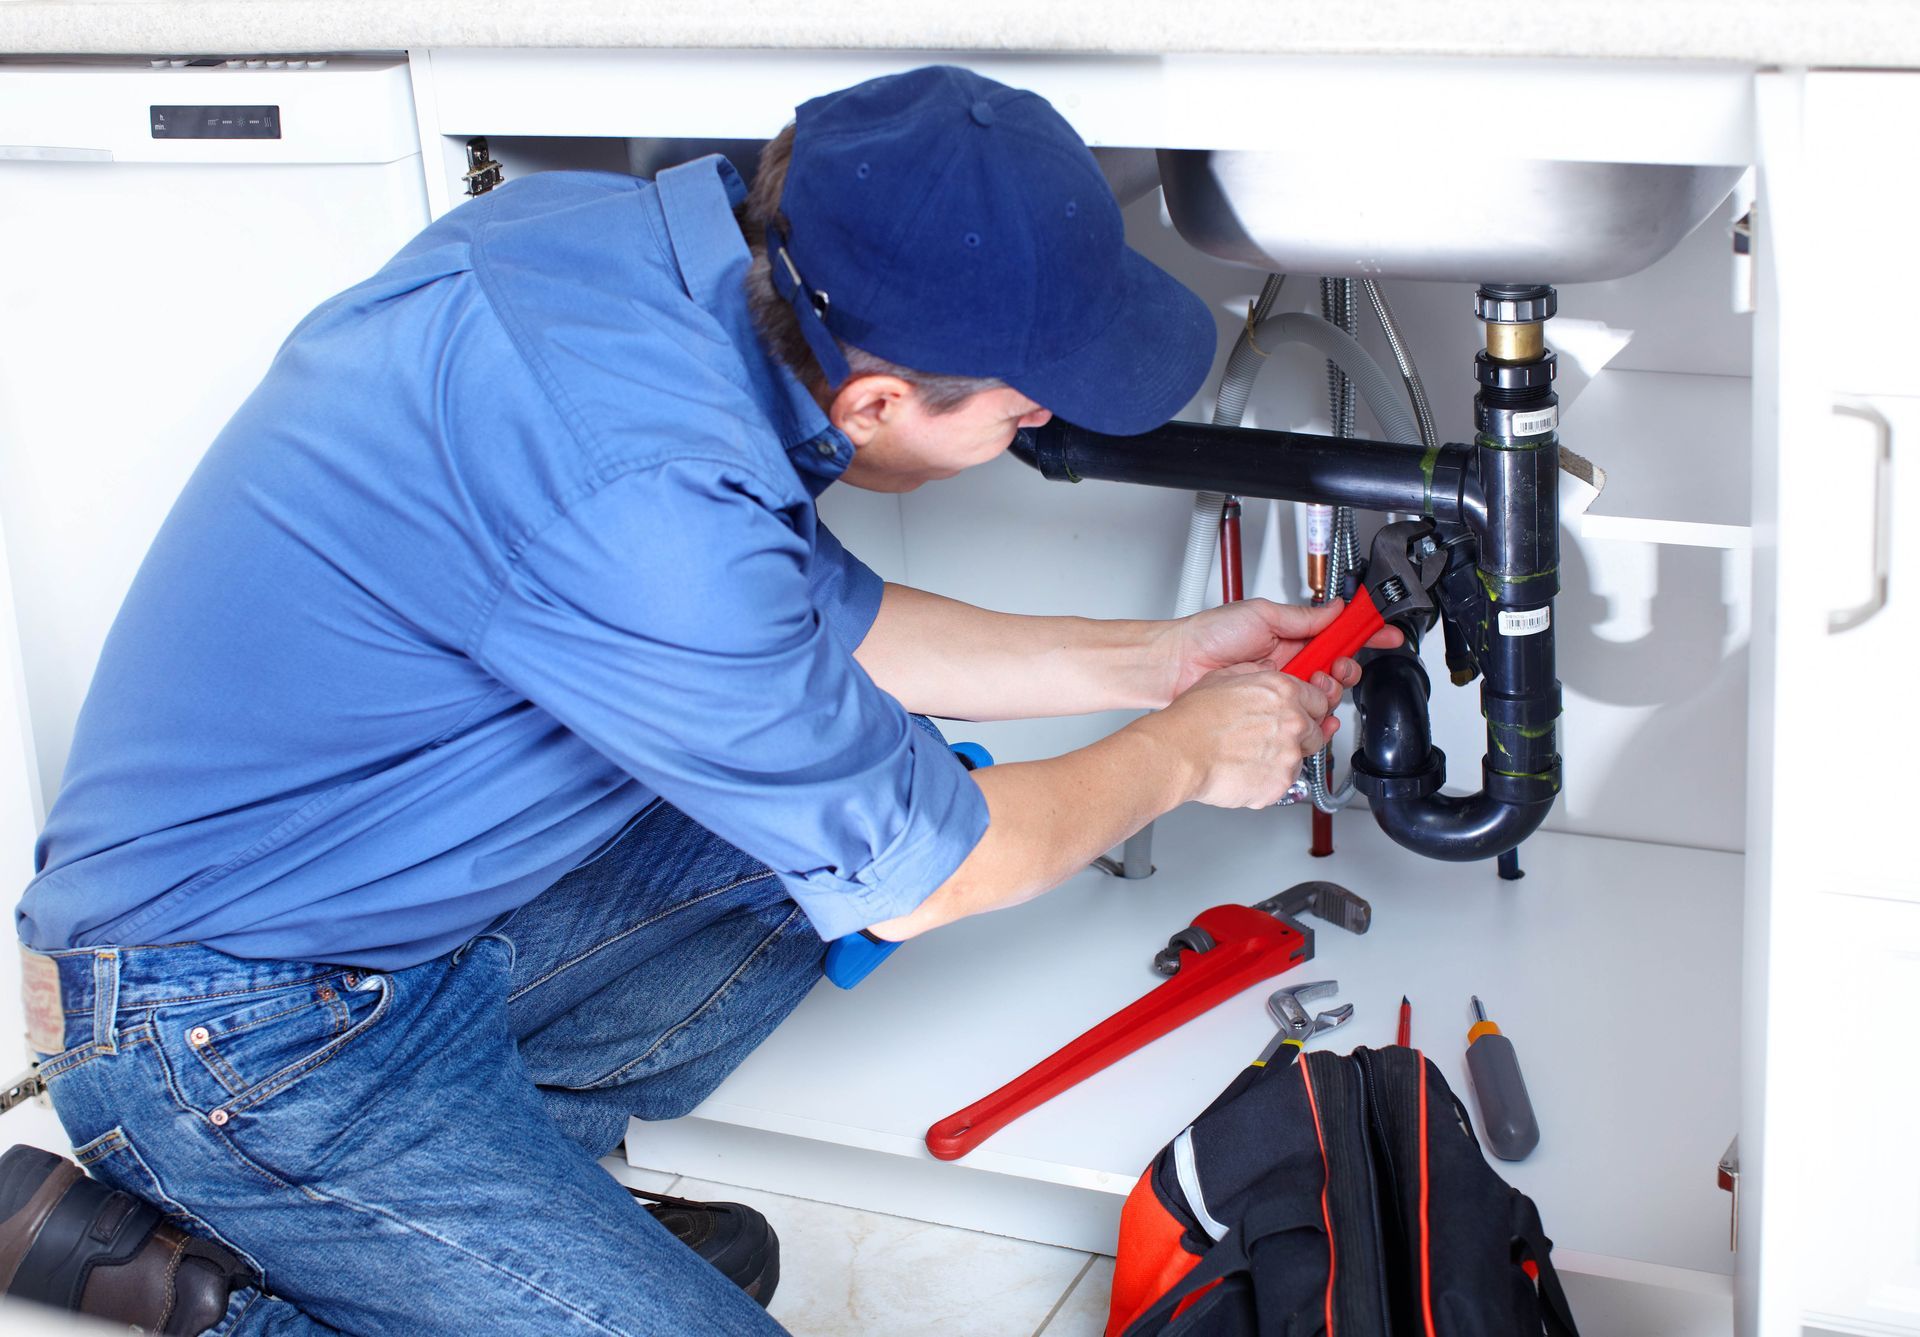
Applying Temporary Pipe Patching Solutions If Necessary
If you learn that a professional plumbing technician cannot reach your property for an extended period, you might consider applying a temporary patch to restore limited water functionality. This is only advisable if the burst section of the pipe is easily accessible in a basement, crawlspace, or utility room. You can purchase an emergency pipe repair kit from a local hardware store, which typically includes rubber gaskets, heavy-duty metal clamps, or specialized epoxy putty. Wrap a piece of flexible rubber tightly over the puncture, place the metal sleeve clamp directly over the rubber patch, and tighten the bolts securely with a wrench. Alternatively, applying waterproof silicone tape tightly around the clean, dry pipe can temporarily seal pinhole leaks under mild pressure conditions. Keep in mind that these quick fixes are strictly temporary measures designed to hold a few hours, and they should never be trusted as permanent structural solutions.
Successfully navigating a residential water crisis requires a blend of fast physical action, organized documentation, and a basic understanding of your home’s utility infrastructure. Knowing how to locate your main shutoff valve and drain your lines empowers you to protect your property before professional help can physically arrive. By taking decisive control of the situation in those critical opening minutes, you mitigate catastrophic structural damage, simplify your insurance claim, and preserve the long-term value of your home. If you want to learn more about how to deal with a burst pipe, contact a plumbing professional like Terry's Plumbing Air & Energy today!


Share On: